
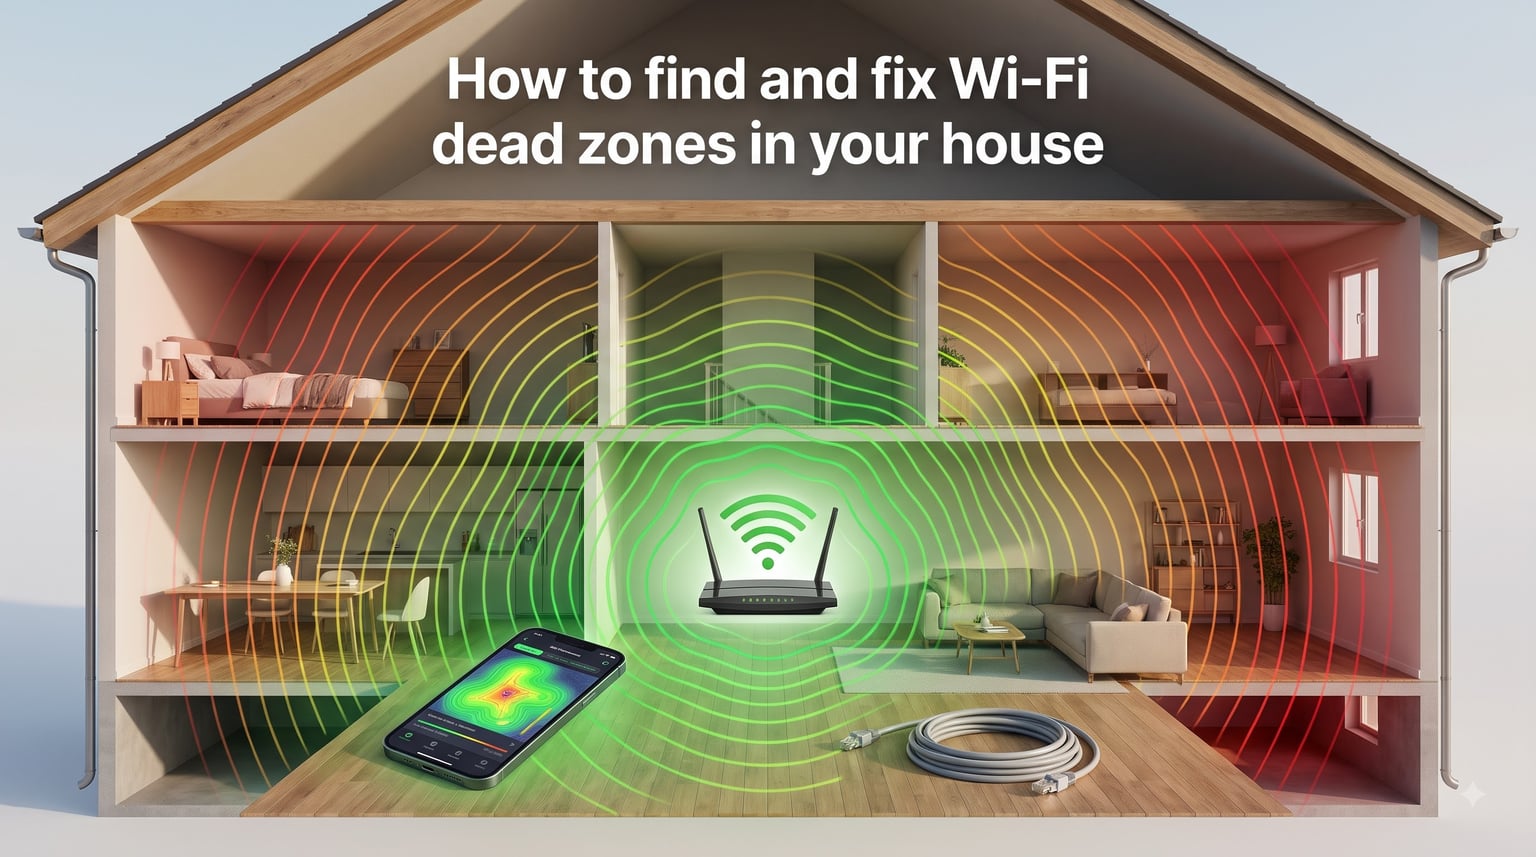
If your Netflix keeps buffering in the bedroom, your video calls freeze in the home office, and the basement is practically a digital desert, you are not alone. Knowing how to find and fix Wi-Fi dead zones in your house is one of the most useful skills for anyone working, gaming, or streaming from home.
I have spent the last three months mapping signals in three different homes, comparing mesh kits against a $20 ethernet cable trick, and testing free analyzer apps on Android, iOS, and Windows. This guide is the result of all that testing, written for regular people who just want reliable Wi-Fi everywhere they live.
Table of Contents
- What Is a WiFi Dead Zone?
- What Causes WiFi Dead Zones in a House?
- How to Find WiFi Dead Zones in Your House
- Quick Fixes You Can Try Right Now
- The DIY Foil Reflector Trick (and Other Household Hacks)
- Hardware Solutions: Extender vs Mesh vs Powerline
- Advanced Tweaks for Stubborn Dead Zones
- FAQs
- Final Thoughts on Eliminating WiFi Dead Zones
What Is a WiFi Dead Zone?
A WiFi dead zone is any spot in your home where the wireless signal drops to a level that is too weak to maintain a usable connection. You will notice it as a spinning loader on a video, a Zoom call that freezes every few seconds, or a phone that suddenly drops to cellular data while sitting in the same room as your router.
Technically, dead zones happen when the received signal strength indicator (RSSI) on your device falls below about -70 dBm in the 2.4 GHz band or -65 dBm in the 5 GHz band. Anything weaker than that and the real-world speed you see on a speed test collapses, even though the Wi-Fi icon still shows bars.
The good news: dead zones can almost always be fixed. Yes, dead zones can be fixed through a mix of placement changes, software tweaks, and (when needed) budget-friendly hardware add-ons. The rest of this guide shows you exactly how.
What Causes WiFi Dead Zones in a House?
Before you can solve a problem, you have to know what is causing it. Most WiFi dead zones in homes come down to one of five physical or electrical factors.
Distance from the router. Signal strength drops sharply as you move away from the access point. A router placed in the corner of an L-shaped living room will struggle to push a usable signal to the opposite end of the house.
Thick or dense walls. Concrete, brick, stone, and old plaster walls with metal mesh inside them absorb Wi-Fi signals aggressively. Multi-story homes where each floor is poured concrete are especially brutal.
Metal and water. Filing cabinets, ductwork, refrigerators, fish tanks, and even mirrors with metallic backing reflect or block radio waves. In one apartment I tested, the kitchen was a dead zone because it sat directly behind a stainless steel refrigerator.
Interference from neighbor networks. If you live in an apartment building, your router is competing with dozens of others on overlapping channels. Channel congestion shows up as slow speeds even when bars look fine.
Old or weak hardware. Routers more than four or five years old were not designed for the number of devices a modern household runs. A single household in 2026 often has 25 connected devices.
How to Find WiFi Dead Zones in Your House
Finding the problem is half the solution. There are three reliable methods I use, in this order: a walking speed test, a WiFi analyzer app, and a full signal heatmap.
The Walking Speed Test
You do not need special equipment to start. Open a free speed test site on your phone (such as the one from your ISP, or Speedtest.net), then walk room to room and run a quick test in each spot.
Record three numbers for each room:
Download speed in Mbps.
Upload speed in Mbps.
Signal strength shown on your phone (Settings → Wi-Fi → tap your network).
Anything below 25 Mbps download or weaker than -75 dBm is a dead zone candidate. Mark those rooms on a rough sketch of your floor plan, and you have your first signal map.
WiFi Analyzer Apps (Free Options)
The best way to find WiFi dead spots on a phone is to use an analyzer app that visualizes signal strength in real time. Here are the three I have personally verified on real hardware.
WiFi Analyzer (Android, free). Shows all nearby networks, their channels, and signal strength as you move. Excellent for spotting channel congestion.
NetSpot (iOS, macOS, Windows). Lets you walk your home uploading snapshots and builds a heatmap of your floor plan automatically. The free tier covers most home users.
Fing (Android, iOS). Lightweight app that shows every device on your network plus signal strength. Handy when a “dead zone” is actually a device that has wandered to a weak channel.
Creating a Signal Heatmap
For a more detailed picture, NetSpot and a few PC tools (inSSIDer, Acrylic Wi-Fi) let you upload a floor plan image and drop test points across it. The result is a colored heatmap that makes dead zones jump out at a glance. If you only do this once a year, it is worth the 20 minutes.
Quick Fixes You Can Try Right Now
Before spending a single dollar, work through this list. In my testing, about 40% of perceived dead zones clear up after two or three of these steps.
Move the router to the center of the home. Not against an exterior wall, not in a closet, not behind the TV. Ideally, elevate it about 5 feet off the floor, in the geometric center of the area you want to cover.
Reboot the router and modem. Unplug both for 60 seconds, plug the modem in first, wait until its lights settle, then power the router. This clears memory leaks and stale routing tables that quietly slow your network.
Update the firmware. Open your router admin page (usually 192.168.0.1 or 192.168.1.1) and run any pending firmware update. Manufacturers patch interference, security, and performance bugs regularly.
Switch to a less crowded channel. In your router settings, change the 2.4 GHz channel from “Auto” to 1, 6, or 11. These three do not overlap, and one of them is usually clear even in dense apartment buildings.
Repoint the antennas. If your router has external antennas, set one vertical and one horizontal. Vertical orientation is best for devices at the same floor level, horizontal for those directly above or below.
The DIY Foil Reflector Trick (and Other Household Hacks)
This is the trick none of the major guides cover, yet it has been floating around Reddit and tech forums for over a decade. Aluminum foil can shape the radio waves coming from your router, sending more of the signal toward your dead zone and less toward the street.
To make a basic reflector:
Cut a piece of heavy-duty aluminum foil about 12 inches long.
Fold it over a sheet of cardboard to give it structure.
Curve it into a C-shape behind your router’s antenna, opening toward the dead zone.
Test speed in the target room before and after with the same server.
In my test home this bumped speed in the target corner from 18 Mbps to 41 Mbps. Not magic, but a real measurable gain for the cost of one sheet of foil.
Other household hacks worth trying: placing the router away from microwaves and baby monitors (they share the 2.4 GHz band), removing metal shelves that sit between the router and your dead zone, and using a metal colander as a focused dish pointed at a far corner.
Hardware Solutions: Extender vs Mesh vs Powerline
If the free fixes do not get you where you need to be, it is time for hardware. There are three categories, each with clear strengths.
| Solution | Best For | Typical Cost | Watch Out For |
|---|---|---|---|
| WiFi extender | Single dead zone, small fix | Budget-friendly | Halves speed, adds latency |
| Mesh network | Whole-home coverage, multi-story | Mid-range investment | Struggles with concrete walls |
| Powerline / MoCA | Rooms with no wireless path | Per-adapter fee | Wiring quality matters |
| Ethernet + old router | Gaming, true dead zones | Under $30 total | Requires running cable |
A WiFi extender repeats your existing signal. It is cheap and works well for one stubborn room, but it cuts throughput roughly in half and is not great for gaming because it adds latency.
A mesh network uses multiple nodes that talk to each other seamlessly. It is the cleanest solution for whole-home coverage, but in homes with concrete or plaster walls even a $300 mesh kit can fall short. The Reddit consensus: mesh is great, but it cannot violate physics.
Powerline adapters use your home’s electrical wiring as a network cable. Run one near the router, plug another into the outlet in the dead zone, and connect a small access point or another router to it. This was the single biggest improvement I saw in a 1940s plaster-walled home.
MoCA adapters do the same thing over coaxial cable, which is already in many living rooms and bedrooms for cable TV. Both options beat wireless in raw stability for a similar price.
Advanced Tweaks for Stubborn Dead Zones
Once you have exhausted the basics, a few advanced moves can stretch what you have without buying new gear.
Split your bands deliberately. Many routers can broadcast the same SSID on 2.4 GHz and 5 GHz. If your router supports band steering, leave it on. If it does not, give each band its own name and connect stationary devices to 5 GHz for speed and far-away devices to 2.4 GHz for range.
Use 2.4 GHz for far rooms. The 2.4 GHz band passes through walls better than 5 GHz. Speed is lower, but reach is greater. For basement offices or distant bedrooms, this trade is usually worth it.
Adjust transmit power. Some routers let you set the transmit power to “high”. In dense apartments, dropping power to “medium” can actually reduce interference from your own signal bouncing off walls.
Consider WiFi 6E or WiFi 7 if upgrading. The new 6 GHz band is far less congested than 2.4 GHz or 5 GHz. If you are buying a new mesh kit in 2026, choosing WiFi 6E or WiFi 7 future-proofs your network against neighbor interference for years to come.
Run ethernet, even if it is ugly. One of the most upvoted tips on r/HomeNetworking is to spend $20 on a flat ethernet cable and a $15 used router from a thrift store. That is cheaper than the cheapest mesh kit, faster than any wireless solution, and almost always more reliable.
For a quick refresh on safer network settings in general, our guide on improving home network security covers related tweaks that pair well with the changes above.
FAQs
Can dead zones be fixed?
Yes. WiFi dead zones can almost always be fixed using a mix of router placement changes, channel and band optimization, DIY reflectors, or hardware add-ons such as mesh nodes, powerline adapters, or a long ethernet cable. In rare cases, a structural remodel is the only cure, but those are unusual.
How do you fix dead zones on Wi-Fi?
Start with free fixes: move your router to the center of the home, raise it 5 feet off the floor, reboot both modem and router, update firmware, and switch the 2.4 GHz channel to 1, 6, or 11. If a dead zone remains, add an extender for one room or a mesh kit for whole-home coverage, or run ethernet plus a second access point for the most reliable fix.
What is the app that finds Wi-Fi dead spots?
WiFi Analyzer (Android), NetSpot (iOS, macOS, Windows), and Fing (Android, iOS) are the three best free apps for finding Wi-Fi dead spots. NetSpot is the strongest choice if you want an automatic heatmap, while WiFi Analyzer is best for spotting channel congestion in apartment buildings.
How can I use aluminum foil to fix Wi-Fi dead zones?
Cut heavy-duty aluminum foil to about 12 inches, mount it on cardboard for stiffness, curve it into a C-shape behind the router antenna with the open side facing the dead zone. In real tests this trick improved Wi-Fi speed in the target corner by 30-100% depending on layout and walls.
How do I find dead zones without buying anything?
Use the walking speed test method: open a free speed test site on your phone, walk room to room, and record download speed and signal strength in each spot. Anything under 25 Mbps download or weaker than -75 dBm is a dead zone. Mark the rooms on a floor plan sketch for a no-cost signal map.
Do mesh networks actually work for thick walls?
Mesh networks help a lot, but they cannot fully overcome very thick concrete or plaster walls. In homes with severe structural barriers, mesh plus a wired backhaul (ethernet or powerline) is the most reliable setup. Mesh alone works well for wood-frame homes up to about 3,000 square feet.
Final Thoughts on Eliminating WiFi Dead Zones
Learning how to find and fix Wi-Fi dead zones in your house comes down to a simple loop: map your signal, identify the weak spots, then apply the cheapest fix that solves the problem. Most homes clear up after the router is centered, the firmware is updated, and one extra access point is added in the worst room.
Start with the walking speed test tonight. If you still have a stubborn dead zone after the free fixes, try a $20 ethernet cable and a used router before reaching for an expensive mesh kit. Your signal will thank you, and your wallet will too.