
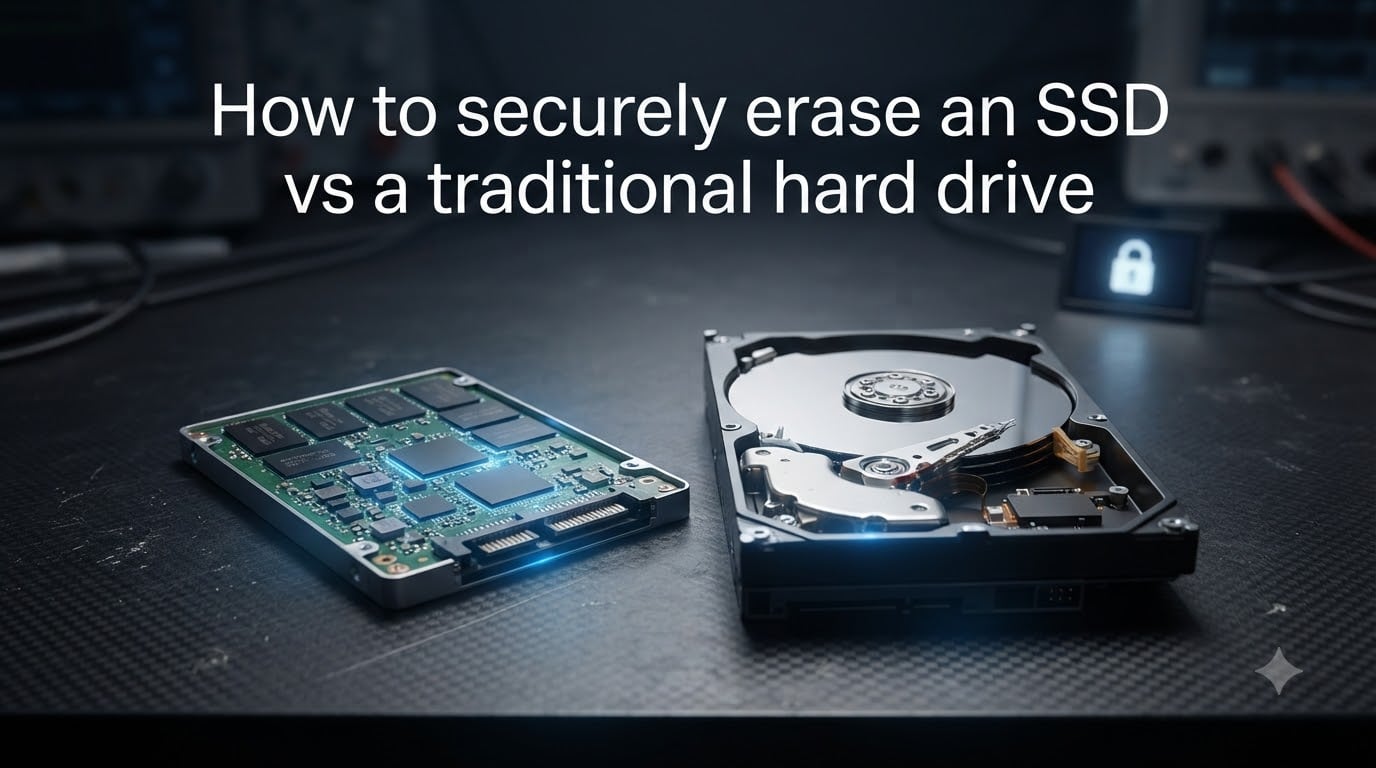
Securely erasing an SSD is fundamentally different from wiping a traditional hard drive. SSDs use NAND flash memory and require ATA Secure Erase commands, while HDDs use magnetic platters that respond to multi-pass overwrite methods. Using the wrong technique means your data may still be recoverable, so understanding the difference matters before you sell, donate, or recycle a drive.
I have tested secure erase methods on dozens of drives over the past three years. The most common mistake I see is people running a multi-pass wipe on an SSD and assuming their data is gone. It usually is not, because of how SSDs handle storage internally. In this guide, I will walk you through exactly how each drive type works, which tools to use, and what to do when software is not enough.
Table of Contents
- Why Securely Erasing an SSD Is Different from Erasing an HDD?
- How SSD Architecture Affects Data Erasure?
- How HDD Secure Erase Works?
- How to Securely Erase an SSD Step by Step
- How to Securely Erase a Traditional Hard Drive Step by Step
- SSD vs HDD Secure Erase Method Comparison
- When Physical Destruction Is Necessary
- Crypto Shredding: An Alternative for Encrypted Drives
- Verification and Best Practices
- Troubleshooting Common Secure Erase Issues
- FAQs
- Conclusion
Why Securely Erasing an SSD Is Different from Erasing an HDD?
SSDs and HDDs store data in completely different ways. An HDD writes bits onto a spinning magnetic platter using a read/write head. An SSD stores electrical charges inside NAND flash memory cells, with no moving parts at all. That single difference changes everything about how you should erase them.
On an HDD, overwriting a sector with zeros or random data reliably destroys the previous content. The same trick does not work on an SSD because of wear-leveling. Wear-leveling is a process where the SSD’s controller spreads writes across all memory cells to extend the drive’s lifespan. When you write new data to logical block address 100, the controller may actually store it on physical cell 9,842, while your old data sits untouched in cell 100.
This means a software overwrite on an SSD can leave fragments of your old files in physical cells the operating system no longer knows about. Recovery tools can sometimes find those fragments. To truly erase an SSD, you have to talk directly to its firmware using a command called ATA Secure Erase or NVMe sanitize.
The Core Architectural Differences
Storage medium: HDDs use magnetic platters; SSDs use NAND flash cells.
Data placement: HDD sectors map directly; SSD cells are managed by a flash translation layer (FTL).
Overwrite reliability: HDD overwrites work; SSD overwrites may miss cells due to wear-leveling.
Erase speed: HDD multi-pass wipes take hours; ATA Secure Erase on SSDs usually takes seconds.
How SSD Architecture Affects Data Erasure?
To understand why HDD methods fail on SSDs, you need to know how an SSD actually stores your data. Every modern SSD contains a flash translation layer (FTL) that sits between your operating system and the physical memory chips. The FTL manages three jobs: wear-leveling, bad block remapping, and over-provisioning.
Wear-leveling extends drive life by ensuring no single cell gets written to more often than others. Over-provisioning reserves extra capacity, usually 7% to 28% of the rated size, so the controller has spare cells to swap in when others wear out. Both features mean the operating system sees a logical address space that does not match the physical layout of the chips.
When you run a software wipe like DBAN on an SSD, the writes only reach the logical blocks your OS can see. Data sitting in retired cells, over-provisioned space, or cells the FTL has relocated for wear-leveling stays untouched. This is why the community consensus on Reddit’s r/sysadmin is clear: HDD multi-pass methods do not work on SSDs.
What TRIM Does and Does Not Do
TRIM is a command your operating system sends to an SSD to mark blocks as no longer in use. When you delete a file, TRIM tells the SSD it can erase those cells internally. TRIM improves performance and helps the SSD manage garbage collection, but it is not the same as a secure erase.
TRIM does not guarantee data is destroyed immediately. The SSD may delay the actual erase for performance reasons. TRIM also does not cover over-provisioned areas or retired cells. For real data destruction on an SSD, you need a firmware-level command that resets every storage cell at once.
How HDD Secure Erase Works?
Traditional hard drives respond well to overwrite methods because every logical sector corresponds to a physical location on a magnetic platter. When you write zeros to a sector, the previous magnetic pattern is replaced. Modern research has shown that even a single pass of random data makes recovery essentially impossible with consumer tools.
The classic approach is a multi-pass overwrite following standards like DoD 5220.22-M, which writes a pattern, then its complement, then random data across three or more passes. Many tools now use a single zero-fill pass because forensic labs confirm this is enough for modern drives.
Common HDD Wipe Methods
Single-pass zero fill: Writes zeros to every sector once. Fast and effective for modern drives.
DoD 5220.22-M (3-pass): Writes a pattern, its complement, then random data. Historical standard, still trusted.
7-pass Gutmann: Designed for older drives with varying encoding schemes. Largely unnecessary today.
DBAN (Darik’s Boot and Nuke): Bootable tool that automates multi-pass wiping. Popular for drive recycling.
On HDDs, these methods can take several hours for a large drive. A 2TB HDD running a 3-pass DoD wipe typically takes 6 to 10 hours. That time investment is acceptable because you know the result is thorough.
How to Securely Erase an SSD Step by Step
The safest way to securely erase an SSD is to use its built-in ATA Secure Erase command. This command tells the SSD’s firmware to reset every storage cell, including over-provisioned areas, to its empty factory state. Here is how to do it.
Step 1: Back Up Your Data First
Secure erase destroys everything on the drive permanently. Before you start, confirm you have a backup of any data you want to keep. Once the erase runs, there is no undo button.
Step 2: Check Your SSD Brand and Model
Manufacturer tools work best when matched to your exact drive. Identify your SSD brand (Samsung, Kingston, Crucial, WD, SanDisk, Intel, etc.) and find the model number. The tool you choose depends on this step.
Step 3: Try the Manufacturer’s Secure Erase Tool First
Most SSD makers offer a free tool with secure erase built in. Examples include Samsung Magician, Kingston SSD Manager, Crucial Storage Executive, and WD Dashboard. Download the tool, boot into a state where the drive is not the system drive, and run the secure erase option.
Step 4: Use BIOS/UEFI Secure Erase If the Tool Fails
Sometimes the manufacturer tool will refuse to run because the drive is “frozen” by the operating system. Restart your computer and enter BIOS/UEFI setup (usually by pressing F2, Del, or F10 during boot). Look for a secure erase option under storage or security settings. Run it from there.
Step 5: Try Parted Magic or a Bootable Linux Tool
If both options above fail, boot from a Parted Magic USB drive or any Linux live environment with hdparm. The command sudo hdparm --user-master u --security-set-pass p /dev/sdX followed by sudo hdparm --user-master u --security-erase p /dev/sdX will trigger ATA Secure Erase. For NVMe drives, use sudo nvme format /dev/nvme0n1 --ses=1.
Step 6: Verify the Erase
After the erase completes, boot back into your OS and check that the drive shows its full capacity and reads as empty. For high-security needs, consider physical destruction as well.
How to Securely Erase a Traditional Hard Drive Step by Step
Wiping an HDD is more straightforward because you do not need firmware commands. Any good overwrite method will work, and you have several free tools to choose from.
Step 1: Back Up Important Files
Same rule as SSDs: the wipe is permanent. Save anything you need before starting.
Step 2: Decide on a Wipe Tool
For a quick single-pass wipe, Windows has a built-in option. For a thorough multi-pass wipe, you need a bootable tool. Here are your best options.
Diskpart clean all: Built into Windows. Open Command Prompt as Administrator and run
diskpart, thenlist disk,select disk X, thenclean all. Writes zeros to every sector.DBAN: Free bootable ISO. Burns to a USB or CD and wipes any drive it sees with multi-pass methods.
Parted Magic: Paid bootable environment with many wipe options including DoD and Gutmann.
Linux dd command:
sudo dd if=/dev/zero of=/dev/sdX bs=1M status=progressfrom a live Linux USB.
Step 3: Boot From the Tool If Needed
You cannot wipe your system drive from inside your running OS. For DBAN, Parted Magic, or Linux tools, you must boot from USB. For Diskpart, you can wipe a secondary drive without rebooting.
Step 4: Run the Wipe and Wait
Start the wipe and let it finish. A 1TB HDD on a single pass takes about 2 to 4 hours. A 3-pass DoD wipe can take 8 to 12 hours. Do not interrupt the process.
Step 5: Confirm the Drive Is Empty
After wiping, boot back into your OS and check the drive shows full capacity with no partitions. Use a recovery tool preview if you want extra peace of mind that nothing readable remains.
SSD vs HDD Secure Erase Method Comparison
Here is a quick side-by-side view of the differences to keep handy.
Recommended method: SSD uses ATA Secure Erase or NVMe sanitize; HDD uses single-pass zero or DoD multi-pass.
Typical time for 1TB drive: SSD takes 5 to 60 seconds; HDD takes 2 to 12 hours depending on passes.
Effectiveness against recovery: SSD firmware erase is highly effective when supported; HDD overwrites are highly effective.
Tools needed: SSD needs manufacturer tool, BIOS feature, or hdparm; HDD needs DBAN, Diskpart, or dd.
Risk of leaving data behind: SSD risk is low with proper command, high with overwrite-only; HDD risk is low with any full overwrite.
Effect on drive lifespan: SSD firmware erase has minimal impact; HDD overwrites cause normal wear.
When Physical Destruction Is Necessary
Software methods are not always enough. Some situations require physical destruction of the drive to meet compliance standards or protect highly sensitive data.
The NIST 800-88 guidelines define three categories of sanitization: clear (logical erase), purge (firmware erase or cryptographic erase), and destroy (physical destruction). For top-secret data, government contracts, or HIPAA-regulated information, destroy is often the required level.
Physical Destruction Options by Drive Type
HDD degaussing: Exposes the drive to a strong magnetic field that scrambles all magnetic patterns. Renders the drive unusable. Works only on magnetic media.
HDD shredding: Industrial shredders cut the platters into small pieces. Meets NIST destroy level when particles are small enough.
SSD shredding: SSDs must be physically destroyed because degaussing does nothing to flash memory. Industrial shredders or drilling through all chips works.
SSD crushing: Some certified recyclers use hydraulic presses to deform the chips beyond recovery.
For most home users selling an old computer, firmware-level secure erase is plenty. For businesses retiring drives with customer data, follow your industry’s specific compliance rules.
Crypto Shredding: An Alternative for Encrypted Drives
Crypto shredding is a fast alternative for self-encrypting drives (SEDs). An SED has an encryption chip that automatically scrambles all data written to the drive using a stored key. To destroy the data, you only need to destroy the key.
Modern SSDs often support the TCG Opal 2.0 standard for hardware encryption. When you run the manufacturer’s secure erase command on an SED, it usually triggers a cryptographic erase by overwriting the key with random data. The encrypted contents become mathematically unrecoverable because the decryption key is gone.
Crypto shredding takes milliseconds and works even on failing drives where a full block erase might fail. If your drive supports it, this is often the fastest and most reliable method available.
How to Check If Your Drive Supports Crypto Erase
Look up your SSD model on the manufacturer’s website. Check for TCG Opal or IEEE 1667 support. Most enterprise SSDs support crypto erase; many consumer drives do too. The manufacturer’s secure erase tool will typically choose cryptographic erase automatically when available.
Verification and Best Practices
Running the erase is only half the job. Verifying it worked protects you from selling a drive with recoverable data. Here is how to confirm a clean wipe.
How to Verify a Secure Erase Worked
Reconnect the drive and boot your OS or a live environment.
Check that the drive reports its full capacity with no partitions or files.
Run a recovery tool like Recuva or TestDisk in deep scan mode to confirm nothing readable is found.
For SSDs, check the SMART data to confirm no relocated sectors or unexpected errors appeared during erase.
Documentation for Compliance
Businesses handling regulated data should keep records of every drive erasure. Best practice includes recording the drive serial number, date, method used, technician name, and a certificate of destruction. Many secure erase tools generate this report automatically.
Common Standards to Know
NIST 800-88 Rev. 1: U.S. federal guideline for media sanitization.
DoD 5220.22-M: Legacy U.S. Department of Defense wipe standard.
HIPAA: Requires disposal methods that render PHI unreadable.
GDPR: Requires appropriate technical measures to erase personal data.
Troubleshooting Common Secure Erase Issues
Secure erase does not always go smoothly. Here are the issues I have run into most often and how to fix them.
“Drive is Frozen” Error
This is the most common SSD issue. The operating system locks the drive to prevent accidental commands, and the manufacturer tool refuses to run. The fix is to sleep and wake your computer, or hot-plug the SATA cable (with the system off) to reset the drive state.
BIOS/UEFI Does Not Show Secure Erase Option
Not all motherboards expose the ATA Secure Erase command in their BIOS. If yours does not, boot from a Parted Magic USB or Linux environment and use hdparm or nvme-cli instead.
Password-Protected SSD
If your SSD has a user password set and you forgot it, you may not be able to run ATA Secure Erase without removing the password first. Check the manufacturer’s documentation for master password reset procedures, or contact their support directly.
Secure Erase Freezes Partway Through
This sometimes happens on failing SSDs where certain blocks can no longer be written. The drive may need to be replaced or physically destroyed. Forcing a retry can sometimes complete the erase, but you should treat any drive with this symptom as unreliable.
FAQs
Can SSDs be securely wiped?
Yes, SSDs can be securely wiped using ATA Secure Erase or NVMe sanitize commands that reset every storage cell through the drive firmware. Software-only overwrite methods like DBAN are not reliable on SSDs because wear-leveling can leave data in cells the operating system does not see. For full security, use the SSD manufacturer’s tool or a BIOS-level erase.
Is eraser safe for SSD?
Eraser and similar overwrite tools are not recommended for SSDs because they cannot reach over-provisioned or retired cells. They are safe to run, but the data they target may not include everything stored on the drive. For SSDs, firmware-level commands like ATA Secure Erase or Parted Magic’s erase function are far more effective.
How do I wipe everything off an SSD?
To wipe everything off an SSD, use the manufacturer’s secure erase tool, enter BIOS/UEFI to run the secure erase command, or boot from a Linux USB and use hdparm or nvme format. After backing up your data, identify your SSD brand, download the matching tool, and follow the secure erase option. Verify afterward that no partitions or files remain.
How long does secure erase take on each drive type?
On SSDs, ATA Secure Erase typically takes 5 to 60 seconds for most consumer drives, and NVMe sanitize is similarly fast. On HDDs, a single-pass zero fill on a 1TB drive takes about 2 to 4 hours, while a 3-pass DoD wipe takes 8 to 12 hours. SSDs are dramatically faster because the firmware can reset entire blocks in parallel.
Conclusion
Securely erasing an SSD vs a traditional hard drive comes down to one key idea: SSDs need firmware-level commands, while HDDs respond to overwrite passes. Using DBAN on an SSD wastes hours and leaves data recoverable. Using ATA Secure Erase on an HDD simply will not run. Match the method to the drive type and you will protect your data reliably.
For most users in 2026, my recommendation is simple: back up your data, identify your drive type, run the matching secure erase method, and verify the result before passing the drive along. If you handle regulated or highly sensitive data, follow NIST 800-88 standards and keep a certificate of destruction for every drive. And when in doubt, physical destruction is the only guarantee against forensic recovery.