
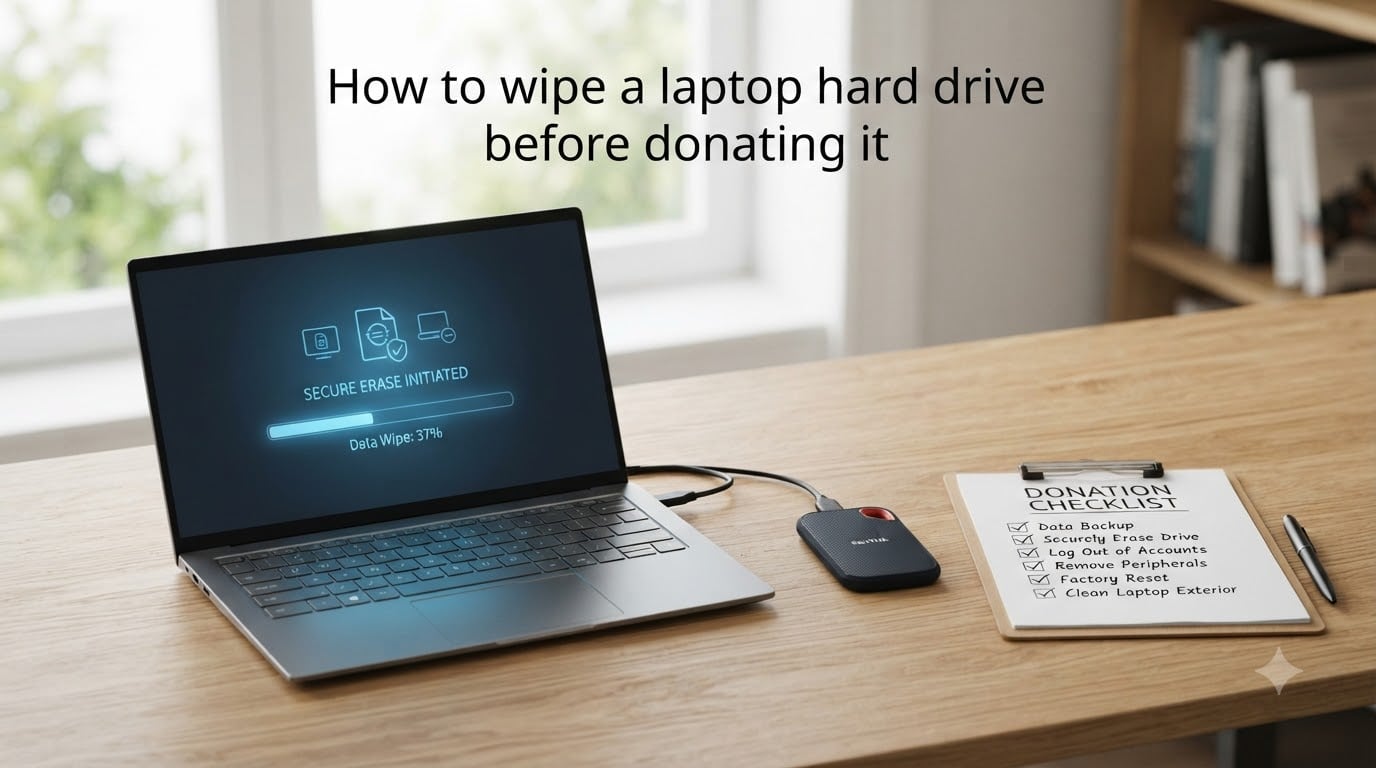
When you donate a laptop, your personal data does not automatically disappear with the operating system reinstall. Old photos, saved passwords, tax documents, browser autofill entries, and cached email can all sit quietly on the storage drive waiting for the next user to find them.
I have wiped dozens of laptops before donations over the years for friends, family, and local nonprofits, and I have seen what happens when someone skips the secure erase step. A few years back, a community tech center received five donated laptops; four had recoverable login credentials sitting in browser folders because the donors only ran a quick reset. That experience is exactly why I wrote this guide.
This article walks you through how to wipe a laptop hard drive before donating it, covering Windows 10, Windows 11, macOS, Chromebook, and Linux. I will also explain the SSD vs HDD difference, share the verification steps I use on every laptop, and answer the questions readers ask me most often about donation safety.
Table of Contents
- Why Wiping Your Laptop Hard Drive Matters Before Donation?
- Step 1: Back Up Every File You Need Before You Wipe
- Step 2: Sign Out of Accounts and Deactivate Licenses
- Step 3: Choose the Right Wipe Method for Your Drive Type
- How to Wipe a Windows 10 or 11 Laptop Using Reset This PC
- How to Wipe a MacBook Using macOS Recovery Mode
- How to Wipe a Chromebook Using Powerwash
- Linux Command-Line Wipe Methods: dd and shred
- SSD vs HDD: Why the Wipe Method Must Match the Drive
- Third-Party Wiping Tools Worth Knowing
- How to Verify the Wipe Was Successful?
- Physical Destruction: When the Drive Stays in the Laptop
- Quick Reference Checklist Before Handing Off Your Laptop
- FAQs
- Conclusion
Why Wiping Your Laptop Hard Drive Matters Before Donation?
A factory reset looks like it deletes everything, but a quick format only marks the storage space as “available” without overwriting the data underneath. Anyone with free recovery software can pull thousands of files from a “reset” laptop in under an hour.
For a traditional hard disk drive (HDD), that recovery is almost effortless. For a solid-state drive (SSD), it is harder but still possible in many cases, especially without a proper secure erase command. Donation centers, refurbishers, and resale shops routinely recover data from drives that were “reset” but never securely wiped.
The information at risk includes saved Wi-Fi passwords, browser autofill data, email archives, financial spreadsheets, scanned IDs, personal photos, and cached business documents. For company-issued laptops, the risk expands to client lists, source code, internal credentials, and confidential contracts. A proper wipe before donation is the only reliable way to protect yourself and your recipients.
Step 1: Back Up Every File You Need Before You Wipe
Once you start the wipe process, the data is gone for good. That is the entire point. So before you click anything destructive, build a backup of everything you want to keep.
I keep a reusable checklist for this step, and it has saved me more than once:
Documents and media: Copy all personal folders to an external USB drive or a Network Attached Storage (NAS) device. Use the built-in backup tools (Windows File History or macOS Time Machine) for an automatic snapshot.
Cloud sync check: Make sure your Desktop, Documents, and Pictures folders are fully synced to OneDrive, Google Drive, iCloud, or Dropbox before wiping. Open the cloud folder and confirm the files are present.
Email and contacts: Most modern email clients sync automatically. Open your webmail to confirm that contacts, calendar, and at least the last 30 days of messages are available online.
Browser data: Sign into Chrome, Edge, Firefox, or Safari with your account so that bookmarks, extensions, and saved passwords sync to the cloud.
Application licenses: Export license keys for paid software you intend to reinstall on your next laptop. Tools like ProduKey (Windows) or Belarc Advisor can dump them.
For a typical home laptop, this backup phase takes 30 to 90 minutes depending on how much data you have. For a work laptop with tens of gigabytes of files, set aside a full afternoon. Rushing this step is how people lose family photos.
Step 2: Sign Out of Accounts and Deactivate Licenses
Signing out of accounts before donating a laptop is just as important as wiping the storage. A laptop that still has your iCloud, Microsoft, or Google account signed in can be remotely locked by Find My, activation-locked, or used as a back door into your other devices.
Here is what I do for every operating system:
Windows: Open Settings, go to Accounts, and remove your Microsoft account from the device. Unpair the laptop from your account at account.microsoft.com/devices. Disconnect it from any Bluetooth pairings.
macOS: Open System Settings, click your Apple ID at the top, and choose Sign Out. Disable Find My Mac before signing out, otherwise Activation Lock will trap the new owner.
Google: Sign out of Chrome, then visit myaccount.google.com/device-sign-in and remove the laptop from your trusted devices.
Adobe, Microsoft Office, antivirus: Deactivate the device through each vendor’s account portal so the next user can register without hitting your license limit.
It only takes 10 minutes and prevents the most common post-donation headaches I have seen reported in tech forums.
Step 3: Choose the Right Wipe Method for Your Drive Type
Not all wipes are equal, and the right method depends on what kind of drive is inside your laptop. Choosing the wrong one can either leave data recoverable or, in the case of SSDs, shorten the drive’s lifespan without improving security.
Here is the quick comparison I use to pick a method before I touch anything:
Quick format: Marks data as deleted without overwriting. Fast (seconds) but not secure. Avoid for donations.
Full format: Overwrites every sector with zeros. Takes hours on a large HDD, but secure for HDDs. Not ideal for SSDs because of wear leveling.
Factory reset with “Clean data” option: Built-in Windows 10/11 reset that overwrites the drive. Good balance of speed and security.
ATA Secure Erase: Built into the firmware of most SSDs. The most reliable wipe for SSDs because it resets all storage cells, including reserved areas.
DBAN: Bootable Linux tool that overwrites HDDs with random data. Free, but slow on large drives and not suitable for SSDs.
Physical destruction: Drilling, crushing, or degaussing the drive. The only 100 percent method for highly sensitive data.
For most readers donating a normal home or work laptop, the built-in factory reset with the secure-erase option is enough. I will show you exactly how to find it on each platform below.
How to Wipe a Windows 10 or 11 Laptop Using Reset This PC
The Reset This PC feature in Windows 10 and 11 is the simplest reliable method for most users. When you choose the “Clean data” option, Windows overwrites every sector of the drive before reinstalling a fresh copy of the operating system.
Follow these steps exactly:
Open Settings, then click System, then Recovery.
Under “Reset this PC,” click Reset PC.
Choose Remove everything when prompted.
Select Local reinstall (or “Cloud download” if you prefer the latest files from Microsoft).
When asked “Do you want to clean the drives too?” select Yes. This triggers the secure erase pass.
Click Next, then Reset. The laptop will reboot and start the wipe process.
The clean-data pass takes roughly 30 to 90 minutes on a mechanical hard drive and noticeably less on an SSD. Do not interrupt the process. Once Windows boots to the out-of-box setup screen, the wipe is complete.
Tip from my last donation batch: If your laptop is older and slow, run the reset with the laptop plugged into power and connected to Wi-Fi. I once had a mid-2014 Dell Latitude that took over two hours to complete the secure overwrite because the drive was almost full. Empty the recycle bin and clear temporary files before you start to speed things up.
How to Wipe a MacBook Using macOS Recovery Mode
Apple’s macOS includes a built-in wipe tool called Disk Utility, accessible from Recovery Mode. The exact steps differ slightly depending on whether your Mac runs Apple Silicon (M1, M2, M3, M4) or an older Intel chip.
For Apple Silicon MacBooks:
Shut down the Mac completely.
Press and hold the power button until “Loading startup options” appears.
Click Options, then Continue.
Open Disk Utility from the recovery menu.
Select the internal drive (usually “Macintosh HD” or “Apple SSD”).
Click Erase, choose APFS as the format, and rename it to “Macintosh HD.”
Click Erase again. Disk Utility performs a secure erase automatically on SSDs.
Quit Disk Utility, then choose Reinstall macOS to leave a clean operating system for the next owner.
For Intel-based MacBooks:
Shut down the Mac.
Restart and immediately hold Command + R until the Apple logo appears.
Choose Disk Utility from the macOS Utilities window.
Select the internal drive and click Erase.
For HDDs, click Security Options and drag the slider to “Most Secure” for a multi-pass overwrite. SSDs should use the default single-pass erase because overwriting adds wear without benefit.
Click Erase, then quit Disk Utility.
Choose Reinstall macOS from the Utilities menu.
Once macOS finishes reinstalling and reaches the welcome screen, the Mac is ready to donate. The recipient can then set it up as their own without touching your old data.
How to Wipe a Chromebook Using Powerwash
Chromebooks are the easiest devices to wipe because almost all of your data already lives in the cloud. The Powerwash feature resets ChromeOS to factory defaults in about 10 minutes.
Here is the process:
Sign out of your Google account if you are still signed in.
Press Ctrl + Alt + Shift + R together, or click the clock, then the gear icon to open Settings.
In Settings, click Advanced, then Powerwash.
Click Restart and confirm.
When the laptop reboots, click Powerwash again, then Continue.
After Powerwash finishes, the Chromebook will boot to the initial setup screen and the local storage will be cryptographically wiped. Donate it as is, or remove the power cable and recycle the charger separately if it is non-standard.
Linux Command-Line Wipe Methods: dd and shred
If you are donating an old Linux laptop or want the most control over the wipe process, two command-line tools handle almost every case. Both work from a live USB so you are not running commands on the drive you are erasing.
Using shred for HDDs:
Boot a live Linux USB (Ubuntu, Fedora, or any distro you trust).
Open a terminal and identify the drive with
lsblk.Run
sudo shred -v -n 3 -z /dev/sdX, replacingsdXwith your drive identifier.The
-n 3flag performs three random passes;-zadds a final pass of zeros to hide the fact that shred ran.
Using dd for full drive overwrite:
Boot the live USB environment.
Confirm the target drive with
lsblkorsudo fdisk -l.Run
sudo dd if=/dev/zero of=/dev/sdX bs=4M status=progressto overwrite with zeros.For extra security on HDDs, run a second pass with random data:
sudo dd if=/dev/urandom of=/dev/sdX bs=4M status=progress.
Both commands wipe the entire drive, including the partition table, so the laptop will not boot until you reinstall an operating system. For most donation scenarios, this means installing a fresh copy of Ubuntu or Linux Mint afterwards. On SSDs, prefer the ATA Secure Erase method described below instead of dd, because overwriting an SSD adds wear without fully clearing reserved space.
SSD vs HDD: Why the Wipe Method Must Match the Drive
The single biggest mistake I see in donation prep is using the HDD wipe method on an SSD. Mechanical hard drives store data in predictable sectors, so overwriting them works. SSDs use wear leveling, which means data is spread across many cells and old data may sit in areas the operating system cannot reach.
This is why DBAN and multi-pass overwrites fail on SSDs. They overwrite the visible sectors but leave data intact in the over-provisioned and retired blocks the SSD uses internally. The result is a wipe that looks complete but is not.
For SSDs, the right approach is ATA Secure Erase, a firmware command built into the drive itself that resets every storage cell, including the hidden ones. To run it on Windows:
Download the Parted Magic ISO or use the free hdparm tool from a Linux live USB.
Boot the live environment.
For Intel, Samsung, and Crucial SSDs, the manufacturer’s own toolbox (Samsung Magician, Intel Memory and Storage Tool, Crucial Storage Executive) includes a one-click Secure Erase.
For other brands, run
sudo hdparm --user-master u --security-set-pass p /dev/sdX, thensudo hdparm --user-master u --security-erase-enhanced p /dev/sdX.
If your laptop uses the older NVMe interface, nvme format /dev/nvme0n1 with the secure erase setting will reset the drive. The next owner will receive an SSD that looks and behaves like new.
Third-Party Wiping Tools Worth Knowing
Built-in operating system tools cover most donation scenarios, but a few third-party options are worth knowing for tricky cases like laptops that will not boot.
DBAN (Darik’s Boot and Nuke): Free, bootable, runs from a USB. Excellent for HDDs in laptops that will not start the OS. Avoid on SSDs.
Active KillDisk: Commercial tool with a free version. Supports both HDD and SSD secure erase, including NVMe.
AOMEI Partition Assistant: Free for personal use on Windows. Includes a “Secure Erase” option that supports SSDs.
Disk Wipe: Lightweight Windows boot tool, useful for old hardware that struggles with modern installers.
I keep a DBAN USB stick in my desk drawer specifically for old laptops whose Windows installation has died. It saves me from booting the original OS just to trigger a reset.
How to Verify the Wipe Was Successful?
Most guides end at the click of the reset button. I prefer to add a verification step because I have seen too many laptops returned to me with the previous owner’s browser still pre-installed on the welcome screen.
Run through these checks before boxing up the laptop:
Confirm the laptop boots to the operating system setup screen (Windows OOBE, macOS setup, or ChromeOS sign-in).
Plug in a Linux live USB or use Recuva (free on Windows) and scan the drive. The recovered file list should be empty or unreadable.
Check the BIOS or UEFI settings to confirm the drive is detected and shows the correct capacity.
Verify that no personal Wi-Fi networks or user accounts appear on the welcome screen.
If verification shows recoverable files, the wipe was incomplete. Repeat the secure erase step or switch to a more aggressive method like ATA Secure Erase for SSDs or a multi-pass shred on HDDs.
Physical Destruction: When the Drive Stays in the Laptop
For laptops that contained highly sensitive information like medical records, legal documents, or source code, even a successful secure erase may not feel sufficient. In those cases, physical destruction is the only way to be sure.
Two methods work at home. Drilling through the drive platters with a power drill destroys the storage surface permanently. A degausser uses a strong magnetic field to scramble the magnetic domains on HDD platters, although it does not affect SSDs. For SSDs, shredding or crushing the NAND chips is the only reliable approach, and most recycling centers will do this for free.
If you donate the laptop but keep the drive, label the donor paperwork clearly so the recipient knows the laptop has no working storage and needs a drive installed.
Quick Reference Checklist Before Handing Off Your Laptop
Before I drive a donated laptop to the drop-off, I run through this final checklist:
All important files are backed up to an external drive or cloud service.
I have signed out of every account, including Microsoft, Apple, Google, Adobe, and any work SSO provider.
Find My Mac or activation locks are disabled.
The drive has been securely wiped using the right method for its type (factory reset with Clean Data for Windows, ATA Secure Erase for SSDs, DBAN for HDDs).
The laptop boots to the operating system setup screen with no personal data visible.
Chargers and power cables are included unless the recipient does not need them.
The donation paperwork notes the laptop model, year, and any installed RAM or SSD upgrades so the recipient knows what they are getting.
Run through that list and you can hand off the laptop with confidence that no personal data will follow it.
FAQs
Is a factory reset enough to wipe a laptop before donating it?
A standard factory reset is usually enough for home users donating a personal laptop, especially on Windows 10/11 when you choose the Clean Data option, on macOS via Disk Utility, and on Chromebook through Powerwash. For company laptops, SSDs without secure erase, or any device that contained financial or medical records, a factory reset alone may not be enough. Pair it with ATA Secure Erase for SSDs or a multi-pass overwrite for HDDs to be safe.
How do I wipe a hard drive on a laptop that will not turn on?
When the operating system will not boot, you cannot run the built-in reset tool. Instead, create a bootable USB with DBAN for HDDs, or boot a Linux live environment and run hdparm for ATA Secure Erase on SSDs. If the laptop truly will not power on at all, remove the drive and wipe it in another computer using a USB-to-SATA adapter, or take it to a local recycling center for physical destruction.
Can I just remove the hard drive before recycling my laptop?
Yes. Removing the drive is a perfectly valid option if you do not want the data leaving your possession. Store the drive somewhere safe, then either keep it as a spare, install it in a USB enclosure for external storage, or physically destroy it. The donor receives a laptop with no working storage and may need to install their own drive before use, so mention this in your donation paperwork.
Does Best Buy wipe hard drives before recycling laptops?
Best Buy’s recycling program accepts laptops and other electronics for free in most U.S. stores. The recyclers they partner with typically wipe or destroy drives as part of the process, but the standard is not always a certified secure erase. If your laptop held sensitive data, wipe the drive yourself using the methods in this guide before dropping it off, so you do not have to rely on the recycling partner’s process.
Conclusion
Learning how to wipe a laptop hard drive before donating it is one of the highest-leverage tech skills you can build. A proper wipe protects your identity, respects the privacy of the recipient, and turns an old device into a clean gift ready for a student, job seeker, or nonprofit.
Back up your files, sign out of your accounts, pick the right wipe method for your drive type, and verify the result before you hand off the laptop. With the steps above, you can donate with confidence in 2026 knowing your personal data stays personal.