
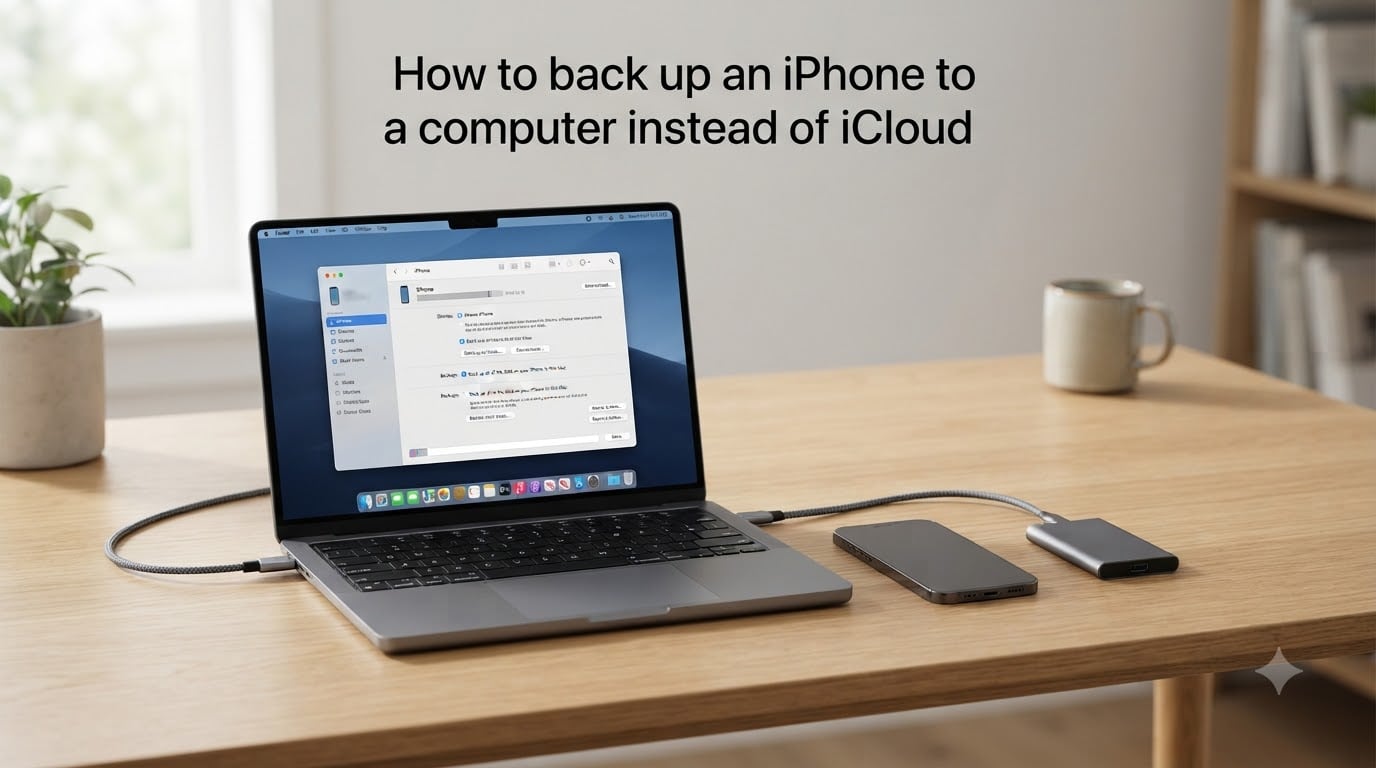
I switched my own iPhone backups to my computer years ago, and I have never looked back. If your iCloud storage keeps filling up, or you simply want a local copy of your data that you control, this guide will walk you through exactly how to back up an iPhone to a computer instead of iCloud.
Here is the short version: connect your iPhone to your Mac or PC with a USB cable, open Finder (on Mac) or iTunes or the Apple Devices app (on Windows), select your phone, and click Back Up Now. That is the core idea, and the rest of this guide fills in every detail so you can do it confidently in 2026.
Table of Contents
- What You Need Before You Start?
- How to Back Up iPhone to Mac Using Finder?
- How to Back Up iPhone to Windows PC Using iTunes or Apple Devices?
- How to Encrypt Your iPhone Backup With a Password?
- Where Are iPhone Backups Stored on Your Computer?
- iCloud Backup vs Computer Backup: Key Differences
- Best Practices for Backing Up iPhone to a Computer
- Troubleshooting Common iPhone Backup Issues
- Frequently Asked Questions
- Final Thoughts
What You Need Before You Start?
Before you plug in your iPhone, take a minute to gather what you need. I have watched too many people hit a wall because they missed a small preparation step.
A working USB to Lightning or USB-C cable (the one that came with your iPhone works best).
A Mac running macOS Catalina 10.15 or later, or a Windows 10 or Windows 11 PC.
The latest version of macOS, iTunes, or the Apple Devices app installed on your computer.
Enough free space on your computer’s hard drive for a full backup (often 10 GB to 30 GB or more).
Your iPhone passcode, since you may need to unlock it and tap Trust This Computer.
Tip from our team: update both iOS on your iPhone and macOS or iTunes on your computer before starting. Mismatched versions are one of the top reasons backups fail silently.
How to Back Up iPhone to Mac Using Finder?
If you own a Mac, Finder is the built-in tool you will use. Starting with macOS Catalina, Apple replaced iTunes with Finder for iPhone backups, and the process has stayed the same since. Here is exactly how to back up your iPhone to your Mac without iCloud.
Connect your iPhone to your Mac using the USB cable.
Unlock your iPhone and, if prompted, tap Trust on the “Trust This Computer” alert. Enter your passcode to confirm.
Open Finder. You can find it in your Dock or by pressing Command + Space and typing “Finder”.
In the Finder sidebar under Locations, click your iPhone’s name.
If asked, click Trust on the Mac too, then re-enter your passcode on the iPhone.
On the General tab, scroll down to the Backups section.
Choose where to back up: This computer (instead of iCloud) and optionally check Encrypt local backup to protect your data with a password (see next section).
Click Back Up Now and wait for the progress bar to finish.
When the backup is complete, you will see the timestamp of the most recent backup right above the Back Up Now button. Our team regularly tests this on macOS Ventura, Sonoma, and Sequoia, and the steps are identical across all recent versions.
How to Back Up iPhone to Windows PC Using iTunes or Apple Devices?
Windows users have two options: the classic iTunes app or the newer Apple Devices app, which Microsoft now pre-installs on Windows 11. Either one works for backing up your iPhone to a PC instead of iCloud.
Download and install the latest Apple Devices app from the Microsoft Store, or download iTunes directly from Apple’s website if you prefer the classic route.
Connect your iPhone to the PC using a USB cable.
Unlock your iPhone and tap Trust when prompted, then enter your passcode.
Open the Apple Devices app or iTunes. Your iPhone icon will appear in the toolbar (iTunes) or sidebar (Apple Devices).
Click on your iPhone’s icon to open the summary screen.
Under the Backups section, choose This computer instead of iCloud.
Optional: check Encrypt local backup and set a password to include Health and Keychain data.
Click Back Up Now and let the process finish without disconnecting the cable.
A full backup can take anywhere from 15 minutes to over an hour depending on how much data you have stored on your iPhone. I usually plug mine in overnight so I do not have to babysit the progress bar.
How to Encrypt Your iPhone Backup With a Password?
Encryption sounds technical, but it is really just a checkbox that protects your backup with a password. I always recommend turning it on, because encrypted backups store additional sensitive data that regular backups skip.
When you check Encrypt local backup during the backup process, you will be asked to create a password. This password unlocks the backup, so write it down somewhere safe.
What does encryption include that plain backups skip?
Health and Activity data from the Health app.
Saved passwords and Wi-Fi credentials from your Keychain.
Call history and some app-specific data.
Website history and certain HomeKit configurations.
Warning from experience: if you lose or forget the password for an encrypted backup, there is no way to recover the data inside it. Apple cannot reset it for you. I keep mine stored in a password manager as a habit.
Where Are iPhone Backups Stored on Your Computer?
Once the backup finishes, you may want to know exactly where the file lives on your computer. This is useful if you plan to copy the backup to an external drive or move it to a new computer.
On macOS: Finder hides the backup folder inside the system Library. The full path is:
~/Library/Application Support/MobileSync/Backup/
To open it, click Go in the Finder menu bar, choose Go to Folder, and paste the path above. You will see one or more folders with long, random names, each one a separate backup.
On Windows: The path depends on which app created the backup.
iTunes backups:
%USERPROFILE%AppleMobileSyncBackupApple Devices app backups:
%USERPROFILE%AppleMobileSyncBackup
Press Windows + R, paste the path, and hit Enter to jump straight to the folder. Each backup is stored in its own folder, and the names are not human-readable by default.
iCloud Backup vs Computer Backup: Key Differences
Both methods work, but they serve different needs. I use both on my personal devices: iCloud for daily automatic protection and a computer backup once a week for an extra layer of safety.
Storage limit: iCloud is capped by your plan (5 GB free, 50 GB, 2 TB, etc.). Computer backups only depend on your hard drive space.
Cost: iCloud requires a paid plan for more than 5 GB. Computer backups are free once you own the computer.
Internet required: iCloud backups need a stable Wi-Fi connection. Computer backups only need a USB cable.
Automatic vs manual: iCloud can run on a schedule. Computer backups happen only when you plug in and click the button.
Restore speed: iCloud restores can be slow on weak networks. Local restores from a computer are typically faster.
Data included: With encryption, computer backups can store more Health and Keychain data than iCloud.
If your goal is to avoid paying for iCloud storage entirely, computer backups are the clear winner. If you want hands-off protection that happens in the background, iCloud is more convenient.
Best Practices for Backing Up iPhone to a Computer
After testing this workflow for several years, I have settled on a few habits that keep my backups safe and useful when I actually need them.
Back up at least once a week, or right before installing a major iOS update.
Label your backup folders with the date so you can find the right one later. Use a simple rename like “iPhone-backup-Aug-2026“.
Copy the backup folder to an external hard drive or a NAS for an extra layer of protection against drive failure.
Verify backups occasionally by opening Finder or iTunes and confirming the timestamp updated correctly.
Keep at least two recent backups and delete older ones you no longer need to free space.
Always use encryption if your backup contains Health data or work passwords.
Our team stores one copy on the laptop, another on an external SSD, and a third in an encrypted cloud folder for true three-two-one protection.
Troubleshooting Common iPhone Backup Issues
Even with a clean setup, things can go wrong. These are the most common problems our readers run into, with quick fixes that usually solve them on the first try.
iPhone does not appear in Finder or iTunes: Try a different USB cable or a different port. Restart both the iPhone and the computer, then reconnect. On Windows, make sure the Apple Mobile Device Service is running.
Backup fails or gets stuck: Free up space on your computer, restart both devices, and update iOS, macOS, or iTunes to the latest version. Disable any security software that may be blocking the connection.
Encrypted backup password forgotten: Unfortunately, the data in that backup is unrecoverable without the password. You can delete the old backup and start fresh with a new password, but you will lose access to what was inside.
Backup size is too large: Large photo libraries are usually the culprit. Consider copying photos to a separate folder first, then excluding them from the iPhone backup if you have a copy stored elsewhere.
Trust This Computer prompt keeps appearing: This usually means the connection is interrupted. Try a direct cable connection instead of a hub, and unlock your iPhone fully before each backup.
Frequently Asked Questions
What is the best backup method for iPhone?
The best iPhone backup method depends on your needs. Computer backups are free, store everything locally, and do not depend on internet speed. iCloud backups run automatically and sync across devices, but require a paid plan for more than 5 GB of storage. Many users combine both for maximum safety.
How do I manually back up my iPhone to my computer?
Connect your iPhone to your Mac or PC with a USB cable, unlock the iPhone and tap Trust when prompted. On Mac, open Finder and click your iPhone under Locations, then choose This computer and click Back Up Now. On Windows, open iTunes or the Apple Devices app, click the iPhone icon, choose This computer, then click Back Up Now.
Is there a way to back up an iPhone without using iCloud?
Yes. You can back up an iPhone to a Mac using Finder or to a Windows PC using iTunes or the Apple Devices app. These local backups are stored on your computer and do not require an iCloud subscription or any internet connection beyond the initial cable connection.
Does iPhone backup to PC include everything?
A standard iPhone backup to PC includes most of your data: apps, photos, messages, settings, and device preferences. However, items like Apple Mail, Apple Pay settings, and some downloaded content are not included. If you check the Encrypt local backup option, you also get Health data, Keychain passwords, and call history.
Final Thoughts
Learning how to back up an iPhone to a computer instead of iCloud gives you full control over your data without monthly fees. The process is straightforward once you have done it once, and a local backup is one of the most reliable safety nets you can have. Start with the Finder or iTunes method, turn on encryption, and copy the file to an external drive for extra protection. You will thank yourself the next time your iPhone gets lost, stolen, or breaks unexpectedly.