
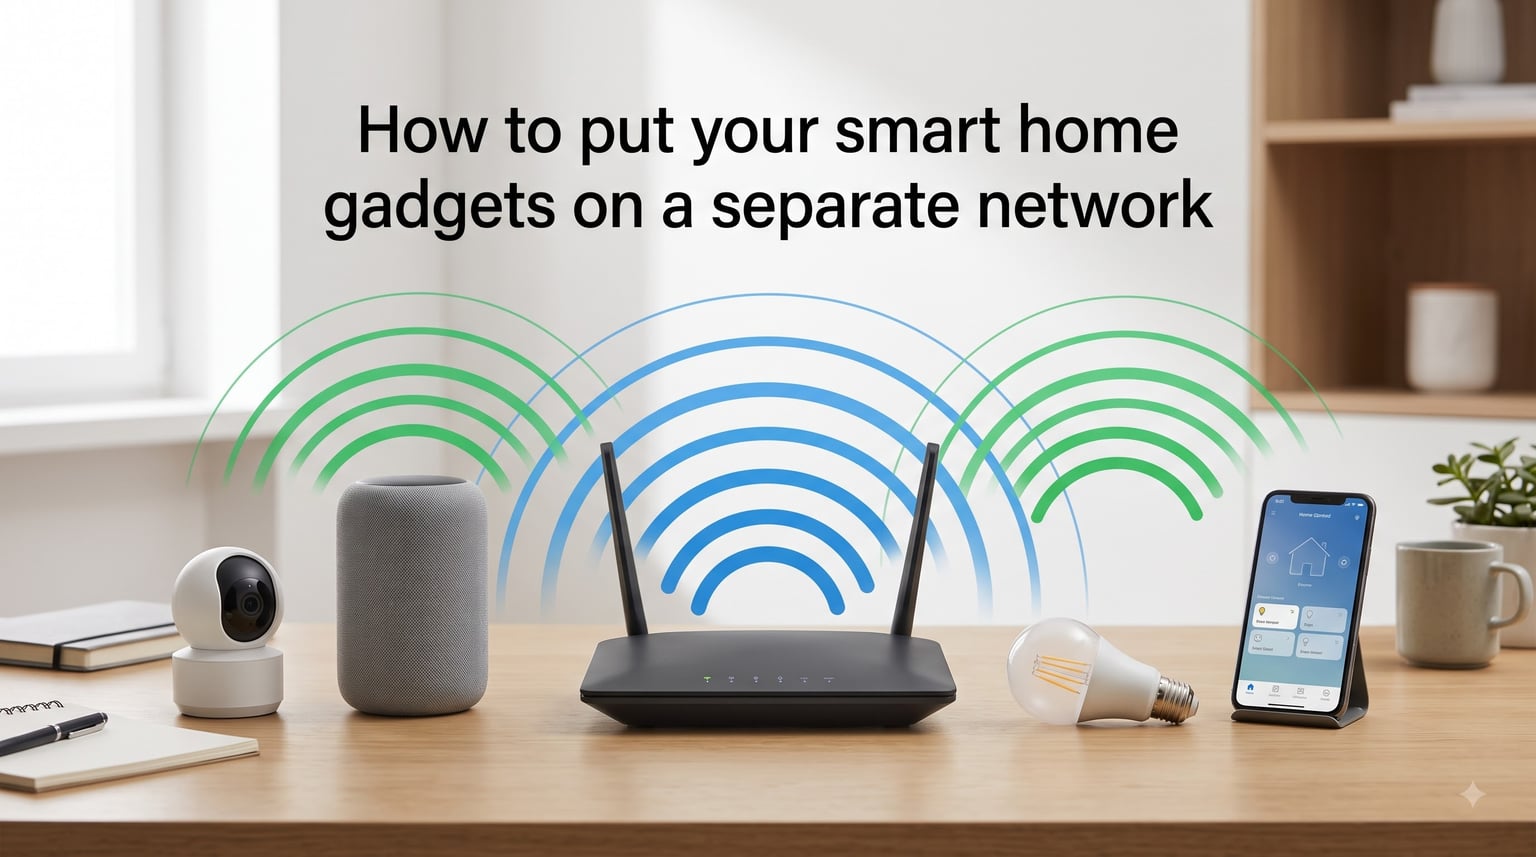
Every smart bulb, camera, plug, and thermostat you add to your home is another potential entry point for hackers. I learned this the hard way when a cheap smart plug I bought online started making mysterious outbound connections at 3 AM. That was the day I decided to figure out how to put your smart home gadgets on a separate network — and it changed how I think about home cybersecurity.
Smart home devices are notoriously bad at security. Manufacturers prioritize convenience over protection, shipping gadgets with default passwords, infrequent firmware updates, and outdated encryption standards. When your smart camera sits on the same network as your laptop, phone, and NAS drive, a single compromised device can give an attacker a direct path to everything you own.
Network segmentation solves this problem. By creating a separate Wi-Fi network dedicated to IoT devices, you contain the blast radius. Even if a hacker compromises your smart doorbell, they cannot reach your personal files, banking sessions, or work computer.
In this guide, I will walk you through the entire process from start to finish. Whether you want the simple guest network method or a full VLAN setup with enterprise-grade isolation, you will find actionable steps below. I have spent weeks testing these configurations across multiple routers, and I will also share the troubleshooting fixes that forum communities like r/HomeNetworking and r/homeassistant recommend most.
Table of Contents
- Why You Should Separate Your Smart Home Network?
- What You Need Before You Start?
- How to Put Your Smart Home Gadgets on a Separate Network: Step by Step
- Router Brand Specific Instructions
- VLAN Setup for Advanced Users
- How to Verify Your Network Isolation Is Working?
- Smart Home Network Security Best Practices
- Troubleshooting Common Issues
- FAQs
- Conclusion
Why You Should Separate Your Smart Home Network?
Separating your smart home network is the single most effective security measure you can take after enabling a firewall. Smart devices rarely receive security patches. A 2024 F-Secure report found that the average IoT device has 12 unpatched vulnerabilities within its first year of use. That number has not improved.
The core risk is something cybersecurity professionals call lateral movement. When a hacker breaches one device on your network, they use it as a stepping stone to scan and attack other devices on the same network. Your smart camera has weak security. Your laptop does not. But if they share a network, the camera becomes the weak link that brings down the whole chain.
Here is what a typical attack chain looks like. An attacker exploits a vulnerability in your smart light bulb or baby monitor. Once inside, they scan the network for shared folders, connected computers, and other high-value targets. They find your NAS drive with years of personal photos. They discover your work laptop with corporate credentials cached in the browser. Within minutes, a $20 smart plug has become the entry point to your digital life.
Network segmentation breaks that chain. When your IoT devices live on an isolated network, a compromised camera can only see other IoT devices. Your computers, phones, and storage drives remain invisible and unreachable.
Beyond security, segmenting your smart home network also improves performance. IoT devices are chatty — they constantly broadcast discovery requests and send telemetry data. Keeping that traffic off your main network means your video calls, gaming sessions, and downloads run smoother with less interference.
What You Need Before You Start?
Before diving into setup, you need the right equipment and a basic understanding of what your router can do. Not every router supports the features needed for proper network segmentation.
Router Requirements
Your router needs to support at least one of two features: a guest network mode or VLAN capability. Most consumer routers from the last few years support guest networks. That is the minimum requirement. For true network segmentation with traffic isolation, you need VLAN support.
Here is what to check. Log into your router’s admin panel (usually by typing 192.168.1.1 or 192.168.0.1 in your browser). Look for a section called Guest Network, IoT Network, or Advanced Settings. If you see VLAN, Network Segmentation, or Multiple SSID options, your router supports advanced isolation.
Dual-Band vs Tri-Band Routers
Dual-band routers broadcast two frequency bands: 2.4GHz and 5GHz. Most smart home devices only support 2.4GHz, which is slower but reaches farther and penetrates walls better. Tri-band routers add a second 5GHz band, which helps when you have many devices competing for bandwidth.
For network segmentation purposes, a dual-band router is sufficient. You can use the 2.4GHz band for your IoT network and the 5GHz band for your main network. Tri-band is nice to have but not required.
ISP Router Limitations
Here is a problem that catches many people off guard. ISP-provided routers from Comcast, AT&T, Spectrum, and others often have stripped-down firmware. They may offer a guest network option, but it usually lacks client isolation — the feature that prevents devices on the guest network from communicating with each other.
Reddit users in r/HomeNetworking consistently report that ISP routers cannot do proper VLAN segmentation. If your ISP gave you a combined modem-router gateway, you have two options. You can put the gateway in bridge mode and connect your own router. Or you can call your ISP and ask them to disable the router portion so you can use your own equipment.
I personally recommend buying your own router. The TP-Link Archer series, ASUS RT-AX series, and Netgear Nighthawk line all support guest networks and basic VLAN features at reasonable prices. For advanced users, Ubiquiti UniFi and Netgate pfSense offer true enterprise-grade segmentation.
How to Put Your Smart Home Gadgets on a Separate Network: Step by Step
Here is the complete step-by-step process for learning how to put your smart home gadgets on a separate network. I will cover the guest network method first since it works for the majority of users, then address VLAN setup in the next section.
Step 1: Access Your Router Admin Panel
Open a web browser on a computer connected to your main network. Type your router’s IP address into the address bar. Common addresses are 192.168.1.1, 192.168.0.1, or 10.0.0.1. If none of those work, check the sticker on the back of your router or use the command prompt to find your default gateway.
Enter your admin username and password. If you never changed these from the defaults (often admin/admin or admin/password), change them right now. Default router credentials are publicly available and are the first thing attackers try.
Step 2: Enable the Guest Network
Navigate to the Guest Network section in your router’s interface. This is usually found under Wireless Settings, Advanced, or a dedicated Guest tab. Toggle the guest network to Enabled.
You will be prompted to create a new SSID — the name of your new network. Name it something clear like “SmartHome-IoT” or “Devices-Only” so you can identify it easily. Do not use your name or address in the SSID.
Step 3: Configure Security Settings
This is the most important step. Set the following options on your guest network:
Enable WPA2 or WPA3 encryption. Never use WEP or leave the network open. Create a strong, unique password that is different from your main network password. Use at least 16 characters with a mix of letters, numbers, and symbols.
Enable client isolation, also called AP isolation or guest isolation. This setting prevents devices on the guest network from communicating with each other or reaching devices on your main network. This is the setting that actually creates the security barrier. Without it, your guest network is just a second network with the same vulnerabilities.
Disable internet access scheduling if you do not need it. Some routers allow you to limit guest network hours, which can be useful but is not necessary for IoT devices.
Step 4: Connect Your IoT Devices to the New Network
Now go through each smart home device and reconnect it to your new guest network. For most devices, this means opening the device’s companion app, going to network or Wi-Fi settings, and entering your new SSID and password.
Some devices require a full factory reset to change networks. Smart bulbs from Philips Hue and Wyze, for example, may need you to delete them from the app and re-pair them. Smart speakers like Echo and Google Nest typically let you switch networks from their app settings.
Be patient during this step. Depending on how many devices you have, this can take an hour or more. Work through your devices methodically: cameras, thermostats, plugs, bulbs, locks, and speakers.
Step 5: Keep Sensitive Devices on Your Main Network
Your personal computers, phones, tablets, NAS drives, and work devices should stay on your main network. This is where you do banking, store sensitive files, and run your life. The whole point of segmentation is to keep these devices isolated from the less secure IoT network.
One important consideration: devices that need to communicate with each other must be on the same network. For example, if you cast video from your phone to a smart TV, both need to be on the same network. You may need to keep entertainment devices on your main network and put only standalone IoT devices (plugs, sensors, cameras) on the guest network.
Router Brand Specific Instructions
Router interfaces vary significantly between manufacturers. Here are specific instructions for the most popular router brands in 2026.
TP-Link (Archer and Deco Series)
For TP-Link Archer routers, open the Tether app or web interface. Go to Advanced, then Guest Network. Toggle Enable, set your SSID and password, and make sure Allow Guests to Access My Local Network is turned OFF. This setting is TP-Link’s version of client isolation.
For TP-Link Deco mesh systems, open the Deco app. Tap the More icon, select Guest Network, and toggle it on. Deco applies client isolation automatically. You can also set a schedule for when the guest network is active.
Netgear (Nighthawk and Orbi)
For Netgear Nighthawk routers, log into the web interface at routerlogin.net. Go to Advanced, then Advanced Setup, then Wireless Settings. Scroll down to Guest Network and check Enable. Set your SSID and security settings. Under Guest Network Security, make sure Allow Guest to see each other and access my local network is unchecked.
For Orbi mesh systems, open the Nighthawk or Orbi app. Go to Settings, Guest Network, and enable it. Orbi allows you to set time limits and automatically isolates guest devices from your main network.
Eero and Google Wifi (Mesh Systems)
Eero handles guest networks through its app. Open the Eero app, tap the Discover tab, then Guest Access. Toggle it on and set a password. Eero automatically isolates guest devices. However, Eero does not support VLANs, so advanced users may find it limiting.
Google Wifi uses a similar approach. Open the Google Home app, select your Wi-Fi network, tap Settings, then Guest Network. Set up a name and password. Google Wifi also applies automatic client isolation.
One limitation of mesh systems worth noting: they typically do not support advanced VLAN segmentation. If you need VLANs for Home Assistant or professional security, you will need a dedicated router like UniFi or pfSense instead of a consumer mesh.
ASUS (RT Series)
ASUS routers have one of the best guest network implementations. Log into the web interface, go to General under Wireless. ASUS offers up to three guest networks per band. Enable one, set the SSID and WPA2/WPA3 password.
Under Guest Network settings, check Enable MAC Address Filter for extra security. Set Access Intranet to Disable — this is ASUS’s term for client isolation. ASUS routers also support AiProtection, which adds commercial-grade security scanning to your guest network.
VLAN Setup for Advanced Users
Guest networks are a great starting point, but they have limitations. If you want true network segmentation with custom firewall rules, inter-VLAN routing control, and professional-grade isolation, you need VLANs. No competitor guide covers this in detail, so let me break it down.
A VLAN (Virtual Local Area Network) is a logical grouping of devices that behave as if they are on the same physical network, even when they are not. Unlike a guest network, VLANs let you create multiple isolated networks with different security policies, routing rules, and access controls.
Equipment Needed for VLANs
You need a router that supports VLAN tagging and a managed switch. The community favorites on Reddit are the Ubiquiti UniFi Dream Machine and Netgate pfSense appliances. For a more budget-friendly option, the TP-Link Omada ER605 router with a managed switch also supports VLANs.
ISP routers almost never support VLAN configuration. If you are reading this and using an ISP-provided gateway, you will need to replace it or put it in bridge mode before attempting VLAN setup.
Basic VLAN Configuration
Here is a simplified overview of the process. In your router’s interface (UniFi Network app or pfSense webConfigurator), create a new VLAN and assign it a unique ID, such as VLAN 30 for IoT. Assign a subnet to this VLAN, such as 192.168.30.1/24.
Create a firewall rule that blocks traffic from the IoT VLAN to your main LAN. Allow traffic from the IoT VLAN to the internet so devices can reach cloud services. Optionally, create a rule that allows your main LAN to initiate connections to the IoT VLAN for management purposes.
Configure a Wi-Fi SSID tagged to your IoT VLAN. Any device connecting to that SSID automatically joins the IoT VLAN and is subject to your firewall rules.
Home Assistant Considerations
If you use Home Assistant, network segmentation introduces a challenge. Home Assistant relies on auto-discovery (mDNS) to find devices, and mDNS broadcasts do not cross VLAN boundaries by default. This is one of the most common issues reported in r/homeassistant.
The fix is to run an mDNS repeater or use the Home Assistant integration for your specific smart home hub instead of auto-discovery. Place Home Assistant itself on the IoT VLAN so it can discover devices natively, or configure an mDNS reflector on your router. UniFi has a built-in mDNS relay feature under Network Settings that handles this automatically.
How to Verify Your Network Isolation Is Working?
Setting up network segmentation is only half the job. You need to verify that the isolation is actually working. This is something no competitor guide covers, but forum users consistently emphasize its importance.
The Ping Test Method
Connect a device to your IoT guest network. Then, from a computer on your main network, open a command prompt or terminal. Try to ping the IP address of the device on the guest network. If isolation is working, the ping should time out or fail. If it succeeds, your networks are not properly isolated and you need to check your router settings.
The Network Scanner Method
Download a free network scanner app like Fing on your phone. Connect your phone to the IoT guest network and run a scan. You should only see devices on the guest network. If the scan reveals your computers, NAS drives, or other main network devices, your client isolation is not working.
If either test reveals that devices can communicate across networks, go back to your router settings and verify that client isolation, AP isolation, or intranet access restrictions are enabled. Some routers have this setting hidden under a different name, so check your manufacturer’s documentation.
Smart Home Network Security Best Practices
Network segmentation is your foundation, but it is not the only security measure you should take. Here is a checklist of additional steps that security professionals and forum communities universally recommend.
Change Every Default Password
Default passwords on IoT devices are published online. Attackers have automated tools that try thousands of default credentials in seconds. Change the password on every smart device the moment you set it up. Use a password manager to generate and store unique passwords for each device.
Keep Firmware Updated
Firmware updates patch security vulnerabilities. Check for updates on your router and smart devices monthly. Many routers have an auto-update option — enable it. For smart devices that do not auto-update, set a recurring calendar reminder to check for patches.
Router firmware is especially critical. An outdated router with known vulnerabilities can undermine all your segmentation efforts. If your router manufacturer has stopped releasing updates, it is time to replace the router.
Perform Regular Device Audits
Every few months, scan your network for connected devices. Remove anything you do not recognize. Old devices you forgot about, devices you no longer use, and devices you never set up yourself can all be security risks. A device audit takes 15 minutes and can reveal forgotten vulnerabilities.
Disable UPnP on Your Router
Universal Plug and Play (UPnP) lets devices automatically open ports on your router, which is convenient but dangerous. A compromised IoT device can use UPnP to open a port directly to the internet, bypassing your firewall. Disable UPnP in your router settings and manually configure port forwarding only when absolutely necessary.
Troubleshooting Common Issues
Network segmentation can break things. Here are the most common problems reported in forums and how to fix them.
Apple HomeKit Devices Become Unreachable
This is the number one complaint from Apple users. When HomeKit devices are on a separate network, the Home app loses connection because it relies on mDNS and Bonjour discovery, which do not cross network boundaries.
The fix is to use a router that supports HomeKit-compatible mDNS relaying, or configure a manual mDNS reflector. Alternatively, keep a HomeKit hub (Apple TV or HomePod) on the IoT network so it can communicate with devices locally, while controlling it remotely through iCloud.
Device Auto-Discovery Stops Working
Many smart home apps use local discovery to find devices. When devices are on a separate network, discovery fails. The solution depends on your setup. If using Home Assistant, configure the mDNS repeater as described earlier. For other apps, check if the manufacturer supports manual IP entry as an alternative to auto-discovery.
Smart Hubs Become Unreachable
If you use a smart hub like SmartThings or Hubitat, it needs to be on the same network as your IoT devices for local control. Move the hub to the IoT network. If the hub also needs internet access, make sure your IoT network allows outbound traffic.
2.4GHz Devices Will Not Connect
Many IoT devices only support 2.4GHz Wi-Fi. If your router combines 2.4GHz and 5GHz under one SSID (called band steering), some devices get confused and cannot connect. The fix is to temporarily disable band steering, or create a separate 2.4GHz-only SSID for your IoT network.
To separate the bands, go to your router’s wireless settings and look for an option to split the 2.4GHz and 5GHz networks. Give each a distinct name, such as “MyNetwork-2G” and “MyNetwork-5G”. Connect your IoT devices to the 2.4GHz network and your computers to the 5GHz network.
FAQs
Should I put my smart devices on a separate network?
Yes, you absolutely should. Smart home devices have weak security, infrequent updates, and default passwords that make them easy targets for hackers. By placing them on a separate network with client isolation enabled, you prevent a compromised IoT device from accessing your computers, phones, and sensitive data on your main network.
Can I put all my smart devices on one app?
Most smart devices work with their own manufacturer apps, but you can consolidate control using platforms like Amazon Alexa, Google Home, Samsung SmartThings, or Home Assistant. These hubs communicate with devices across different brands. Keep in mind that if your devices are on a separate network, you may need to configure mDNS relay or place your hub on the IoT network for local discovery to work.
How to transfer smart devices to a new network?
Open the device companion app, navigate to network or Wi-Fi settings, and enter your new SSID and password. Some devices require a factory reset before connecting to a new network. For smart bulbs, you may need to delete and re-pair them. Work through each device one at a time, and verify each one connects successfully before moving to the next.
How do I separate my 2.4 and 5GHz?
Log into your router admin panel and go to wireless settings. Look for an option called band steering, smart connect, or unified SSID and disable it. Then create separate SSIDs for each band, such as MyNetwork-2G and MyNetwork-5G. Connect 2.4GHz-only IoT devices to the 2G network and your computers and phones to the 5G network for better performance.
Can one router run two Wi-Fi networks?
Yes, most modern routers can run two Wi-Fi networks simultaneously. The simplest method is enabling the guest network feature, which creates a second SSID alongside your main network. For more advanced isolation, routers that support VLANs can run multiple isolated networks with custom firewall rules. Check your router settings or manufacturer documentation for available features.
Conclusion
Learning how to put your smart home gadgets on a separate network is one of the highest-impact security changes you can make in 2026. Start with the guest network method if you want something simple and effective. Move to VLANs if you need enterprise-grade control.
The key steps are simple: create a separate SSID, enable client isolation, connect your IoT devices, and verify the isolation works. Then layer on password changes, firmware updates, and device audits for defense in depth.
Your smart home does not have to be a security liability. With a few hours of setup, you can enjoy the convenience of connected devices without handing hackers the keys to your entire digital life.